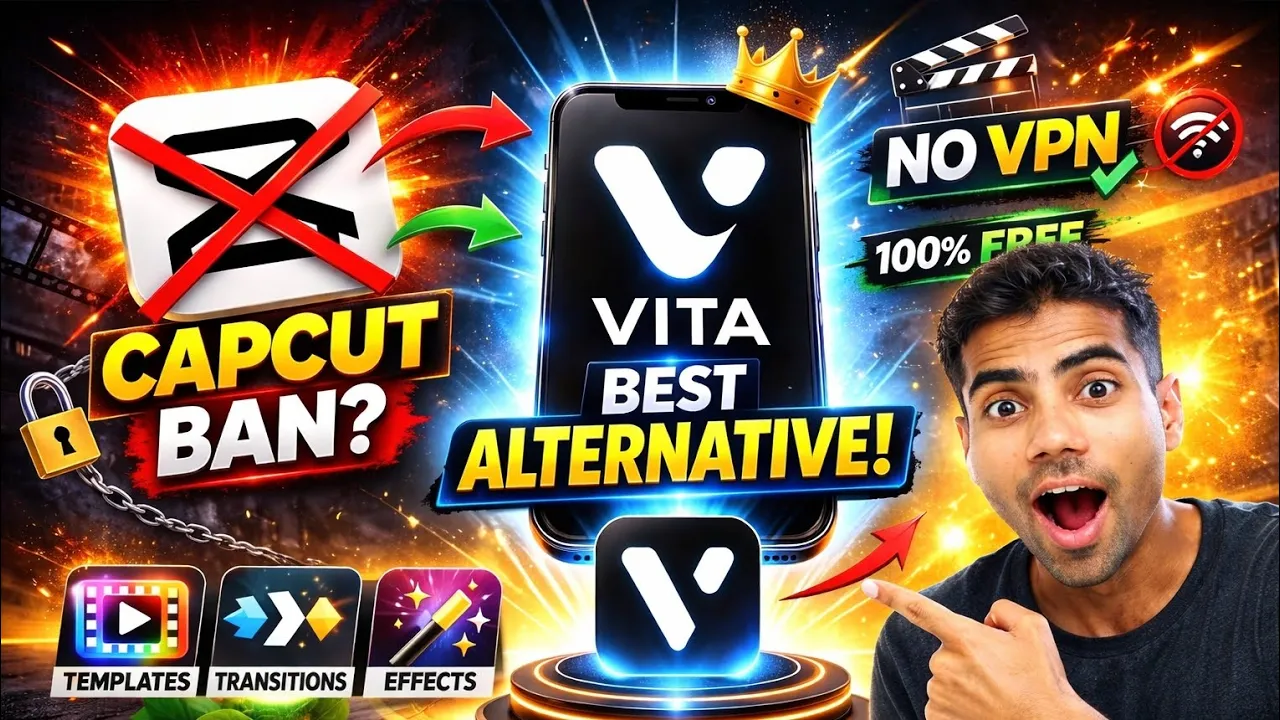
If you’re tired of using a VPN every time you open CapCut, then don’t worry. Today, I’m going to introduce a powerful video editing app called Beta, which works as an excellent alternative to CapCut.
With Beta, you can create professional-quality videos in just a few minutes. In this guide, I’ll show you how to edit videos in Beta just like CapCut. Make sure you read carefully and don’t skip any steps, otherwise you may miss important editing techniques.
Why Use Beta Instead of CapCut?
Many creators face issues accessing CapCut because of regional restrictions or VPN requirements. Beta solves this problem by offering:
- No VPN required
- Beginner-friendly interface
- Professional editing tools
- AI-powered effects
- Free sound effects library
- Text animations and stickers
- Video enhancement tools
- PIP (Picture-in-Picture) support
- Background removal features
If you’ve used CapCut before, you’ll feel right at home using Beta.
Step 1: Import Your Video
After opening Beta, import your video into the timeline.
The interface is clean and easy to understand. One of the best features is the audio waveform display. Whenever you speak in the video, Beta automatically shows the audio graph, making it easier to identify silent sections and unwanted footage.
Step 2: Remove Unwanted Parts
Before adding effects or transitions, always clean up your video.
Important Editing Tools
Beta provides three important trimming options:
- Split – Cuts the video into separate sections.
- Trim to Left (Until Now) – Removes everything before the selected point.
- Trim to Right (From Now) – Removes everything after the selected point.
Recommended Method
The easiest and most professional method is using the Split tool.
- Move the playhead to the section you want to cut.
- Click Split.
- Select the unwanted segment.
- Click Delete.
Repeat the process until all unnecessary clips are removed.
Step 3: Improve Video Quality
Once you’ve cleaned up the footage, it’s time to enhance the quality.
Select your video and open the Adjustments section.
Recommended Settings
Brightness
Increase brightness slightly to make your video clearer.
Contrast
Add some contrast to make colors stand out.
Saturation
Increase saturation a little for more vibrant colors.
These simple adjustments can instantly make your video look more professional.
Step 4: Adjust Audio
Beta allows you to increase your video’s volume up to 200%.
If your voice sounds low, simply:
- Select the video clip.
- Open the Volume section.
- Increase volume according to your needs.
Clear audio is just as important as high-quality visuals.
Step 5: Add AI Effects
One of Beta’s standout features is its collection of AI-powered effects.
You can apply:
- AI visual effects
- Motion effects
- Face effects
- Light leak effects
- Retro effects
- Background effects
- Cinematic effects
These effects can dramatically improve your video’s appearance and engagement.
Step 6: Add Sound Effects
Beta includes a massive library of sound effects.
You can add:
- Notification sounds
- Transition sounds
- Click effects
- Whoosh effects
- Cinematic sounds
- Funny effects
Sound effects make your videos more engaging and help retain viewer attention.
Step 7: Add Text and Captions
Adding text is extremely easy.
For example:
- Click Text.
- Type your desired text.
- Choose a style from the available templates.
- Resize and position it using your fingers.
Auto Captions
Beta also provides easy caption options that can improve viewer retention and accessibility.
According to YouTube and TikTok experts, captions help increase watch time and engagement.
Step 8: Use Stickers
Beta comes with an enormous sticker library.
Available stickers include:
- Like buttons
- Subscribe buttons
- Arrows
- Social media icons
- Call-to-action elements
- Animated stickers
These stickers can help increase engagement and encourage viewers to subscribe to your channel.
Step 9: Apply Professional Effects
The effects section is packed with creative options.
Popular categories include:
- Light Leak
- Retro
- Film Look
- Glow Effects
- Motion Blur
- Cinematic Transitions
In fact, Beta offers many effects that are similar to—and sometimes even more extensive than—those available in CapCut.
Step 10: Use PIP (Picture-in-Picture)
PIP allows you to place one video on top of another.
This feature is useful for:
- Reaction videos
- Tutorials
- Gameplay videos
- Facecam overlays
- Product demonstrations
You can even apply animations to your PIP elements for a more professional look.
Step 11: Apply Styles and Animations
Beta includes many ready-made animation presets.
You can add:
- Intro animations
- Exit animations
- Text animations
- Zoom effects
- Slide effects
- Dynamic transitions
These styles help make your videos look polished without requiring advanced editing skills.
Step 12: Blur, Remove Backgrounds, and Replace Backgrounds
Need extra editing power?
Beta allows you to:
- Blur sensitive information
- Remove backgrounds
- Change backgrounds
- Add custom images
- Perform color correction
These features are especially useful for YouTube creators, Instagram Reels creators, and TikTok users.
Step 13: Apply Filters
Filters can completely transform your video’s appearance.
Beta offers:
- Cinematic filters
- Vintage filters
- Bright filters
- Moody filters
- Social media-style presets
Just select a filter and instantly give your video a fresh new look.
Is Beta Better Than CapCut?
If you’re looking for a free editing app that doesn’t require a VPN, Beta is definitely worth trying.
Pros
✅ Easy to use
✅ No VPN needed
✅ Rich effects library
✅ Professional animations
✅ Sound effects collection
✅ PIP support
✅ Background removal tools
✅ Free editing features
Cons
❌ Some advanced CapCut features may still be unavailable
❌ Learning curve for new users
Overall, Beta is one of the best CapCut alternatives available for creators who want professional editing without restrictions.
Helpful Resources
- Learn video editing basics from Adobe: https://www.adobe.com/creativecloud/video/discover/video-editing.html
- Creator Academy by YouTube: https://creatoracademy.youtube.com
- TikTok Creative Center: https://ads.tiktok.com/business/creativecenter
- Free sound effects library: https://freesound.org
Final Thoughts
This was Part 1 of the Beta App editing tutorial. We covered everything from cutting clips and improving video quality to adding effects, stickers, captions, and animations.
If you master these basics, you’ll be able to create professional videos similar to those edited in CapCut.
For Android
For iPhone
In Part 2, we’ll dive deeper into advanced animations, transitions, professional effects, and creator-level editing techniques that can make your content stand out on YouTube, Instagram Reels, and TikTok.

📢 Join Our WhatsApp Channel
Get daily AI photo editing prompts, tools, and tips directly on your phone.
Join Now on WhatsApp 🚀