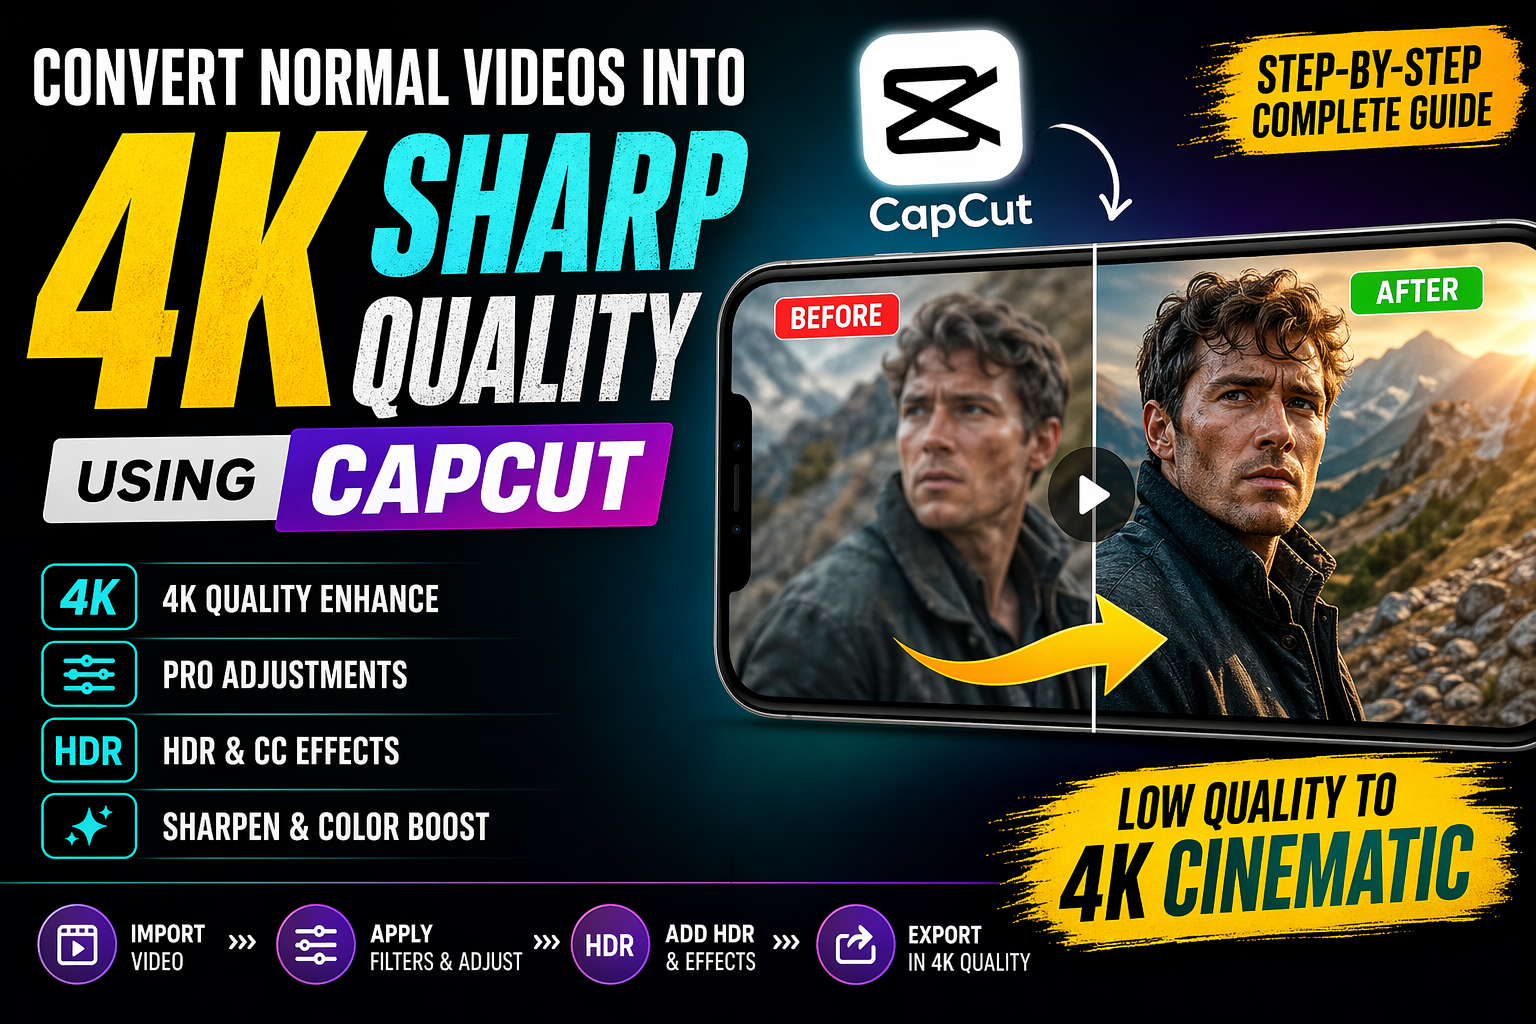
How to Convert Normal Videos into 4K Sharp Quality Using CapCut (Step-by-Step Guide)
Hello everyone! How are you all doing?
In this guide, I’m going to show you exactly how you can transform your normal low-quality videos into stunning 4K sharp, high-quality videos using the CapCut application. If you’re into video editing, TikTok, YouTube Shorts, or Instagram Reels, this trick can seriously level up your content.
Make sure to read till the end because I’ll also share a few bonus tricks to boost your video quality even more.
Requirements Before You Start
Before we begin, make sure you have the following:
- A working version of CapCut
- A VPN app (you can download one from Google Play Store)
Simply install a VPN, connect to any server (server doesn’t matter much), and then open CapCut. Make sure your CapCut version is working properly to avoid issues.
Step 1: Import Your Video
Open CapCut and tap on New Project. Select the video you want to enhance and add it to the timeline.
At this stage, you’ll notice your video looks pretty average or normal in quality — don’t worry, we’ll fix that.
Step 2: Apply Quality Filters
Go to the Filters section. CapCut provides amazing filters that can instantly improve your video quality.
Some recommended filters:
- 4K Filter – Enhances sharpness and overall quality
- Bokeh – Blurs background and highlights subject
- Vivid – Boosts colors
- Enhance – Improves clarity
Apply 2–3 filters together for the best results. For example:
- Apply 4K Filter
- Add Backlight or Vivid
This alone will significantly improve your video.
Step 3: Adjust Video Settings (Most Important)
Now click on your video clip and scroll to Adjust. This is where the real magic happens.
Recommended Settings:
- Brightness: Increase slightly
- Brilliance: Decrease a bit (to avoid harsh light)
- Sharpness: Increase
- Clarity: Increase
- Saturation: Slightly increase for vibrant colors
- Temperature: Shift slightly toward warm (yellow tone)
This combination creates a cinematic, movie-like feel.
Pro Tip: Always balance brightness and brilliance. Too much brightness alone can hurt the eyes, but reducing brilliance keeps it soft and clean.
Step 4: Apply HDR Effects (CC Effect)
Now it’s time to apply CC (Color Correction) using HDR effects.
Go to:
Effects → Video Effects → Search “HDR”
You’ll find multiple options like:
- HDR
- HDR2
- 4K HDR
Choose the one that suits your video.
Step 5: Use Smart Sharpen Effect
Go to the Effects section and find Smart Sharpen.
After applying it, adjust these settings:
- Blur: Reduce
- Filter: Reduce
- Range: Increase moderately
- Sharpen: Increase (but don’t overdo it)
This step gives your video that crisp 4K sharp look.
Step 6: Fine-Tune with Extra Filters
If you want even better results, try additional filters like Clear to boost glow and sharpness.
You can experiment with different combinations to get your desired cinematic look.
Before vs After Result
After applying all these steps, your video will go from:
- ❌ Normal / Low Quality
- ✅ High-Quality 4K Cinematic Video
The difference will be clearly visible in sharpness, colors, and overall clarity.
Step 7: Export in Maximum Quality
To save your video:
- Click on Export
- Set all settings to Maximum (Resolution + FPS)
- Tap Save to Device
Your high-quality video will be saved on your device.
Bonus Tip: Use AI Video Enhancer Tools
For even better quality, you can use AI tools after editing:
These tools use AI to further enhance your video resolution and sharpness.
Final Words
That’s it for today! By using filters, adjustments, and HDR effects in CapCut, you can easily convert any normal video into a high-quality 4K cinematic video.
Keep experimenting with settings and filters — that’s how you’ll master video editing.
See you in the next guide. Stay happy and keep creating awesome content! 🚀

📢 Join Our WhatsApp Channel
Get daily AI photo editing prompts, tools, and tips directly on your phone.
Join Now on WhatsApp 🚀